Getting Started with Jenkins Part -4 ⚽ Create a Simple Freestyle Pipeline

Create a Simple Freestyle Pipeline
A freestyle pipeline is a type of build job in Jenkins that allows us to configure any build job using a graphical user interface. It is flexible and easy to use for beginners. You can add multiple build steps and post-build actions using various plugins.
To create a freestyle project for this task, follow these steps:
- Go to your Jenkins dashboard and click on New Item.
- Enter a name for your project (e.g., web-api-cicd) and select Freestyle project. Then click OK.
- On the configuration page, you can add some descriptions for your project if you want.

- Under Source Code Management, select the credential you set up earlier. Add the appropriate GitHub repo URL depending on the type of GitHub credential you setup.


- Select "GitHub hook trigger for GITScm polling" to enable automatic pipeline triggering whenever there's a new commit in your GitHub repository.

- Now let's build docker steps

Click on the "Save" button to save the project configuration.
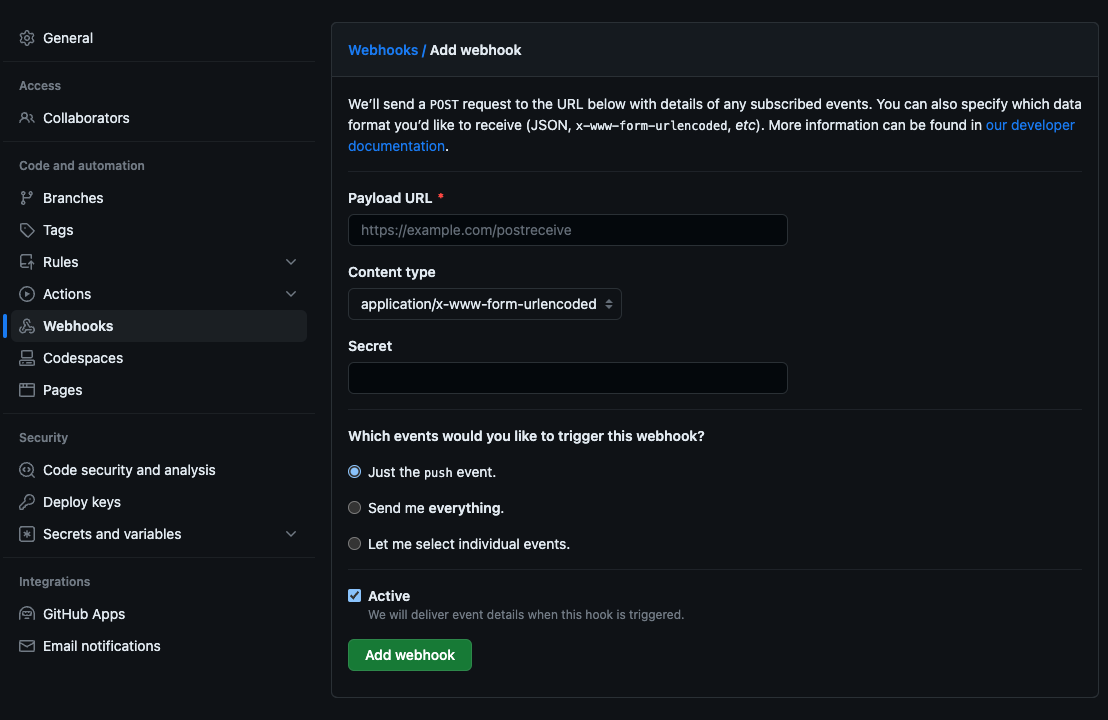
- Next, you will need to setup a GitHub webhook that will trigger Jenkin's builds every time you push new code to the repo. The Payload URL needs to be in the format:
<public url>:8080/github-webhook
Now for the fun part! Push some new code to your repo and watch Jenkins build your project without your intervention.

Click on Console Output to see the logs of the build. You should see something like this:

You can see the image and the container is created. also project from GitHub deployed to ubuntu at location /var/lib/jenkins/workspace/jenkins-project-name.
Congratulations! You have successfully created and run a simple freestyle pipeline in Jenkins.